
Use the app
Proxies, VPNs and DNS.
On this page
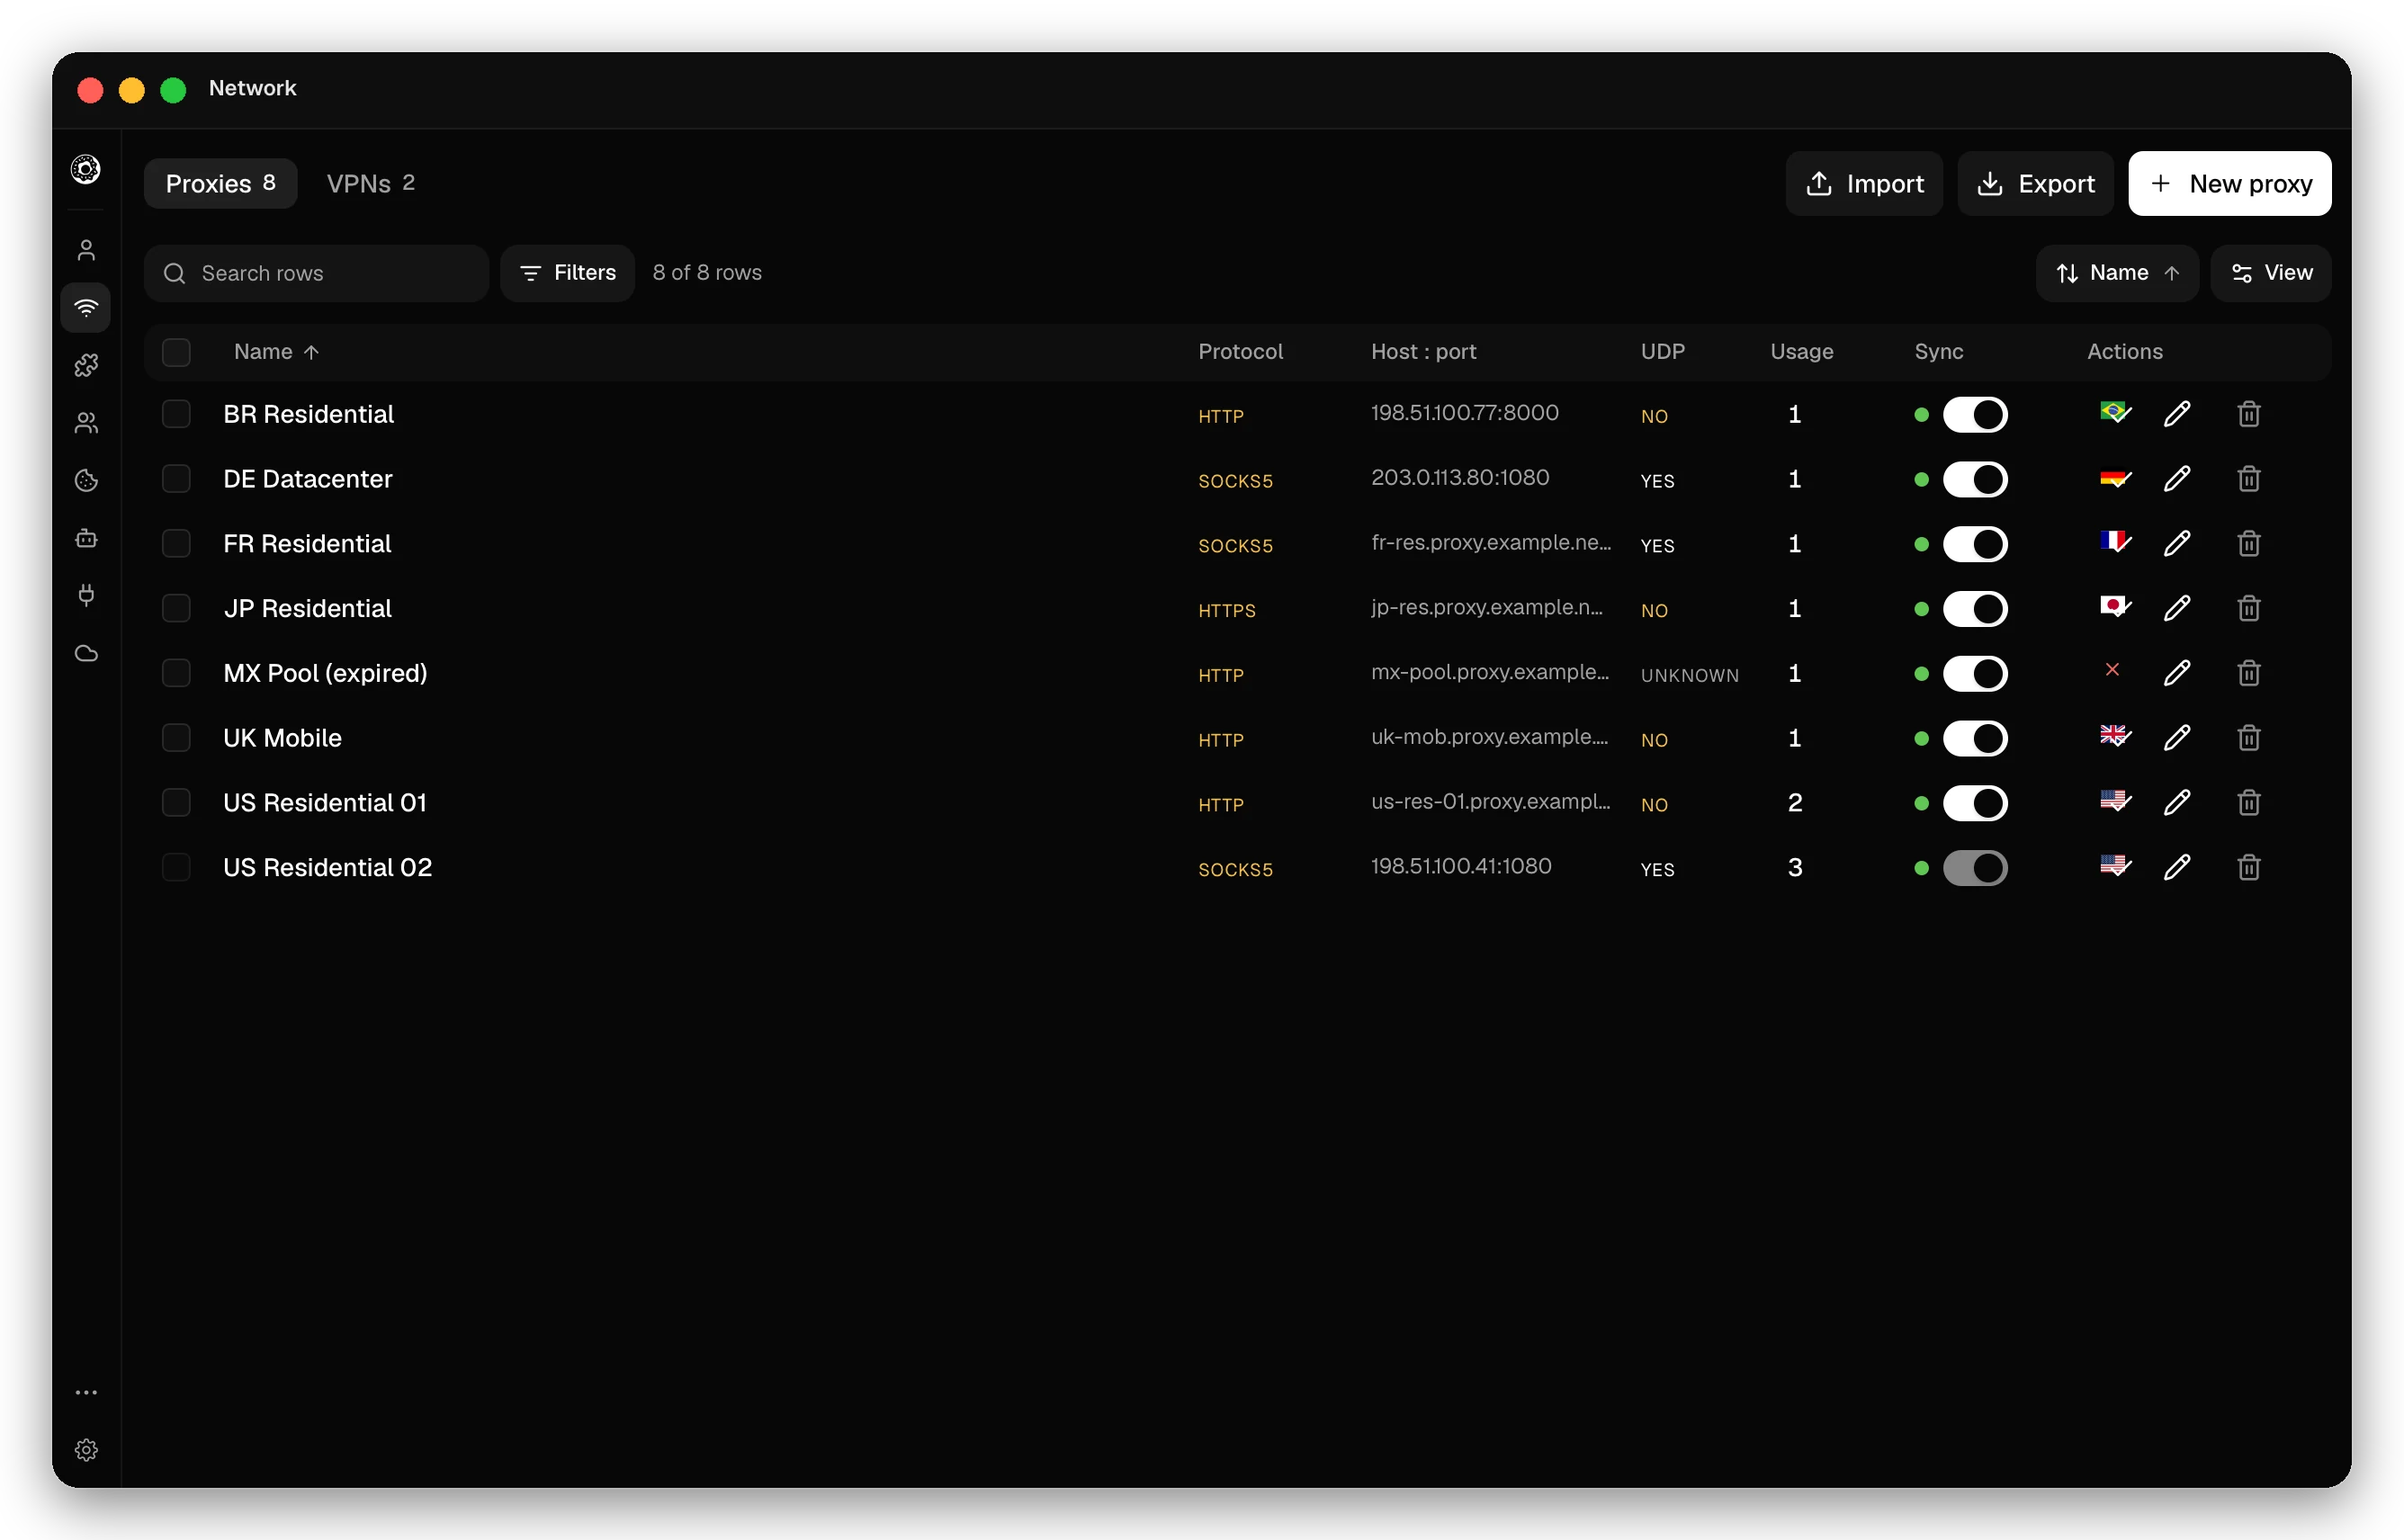
Each profile reaches the internet through its own route: a proxy, a WireGuard VPN, or your own connection. Proxies and VPNs live on the Network page (Cmd/Ctrl+N), on the Proxies and VPNs tabs. One proxy or VPN can serve many profiles, but one account per exit IP keeps accounts apart.
Add a proxy
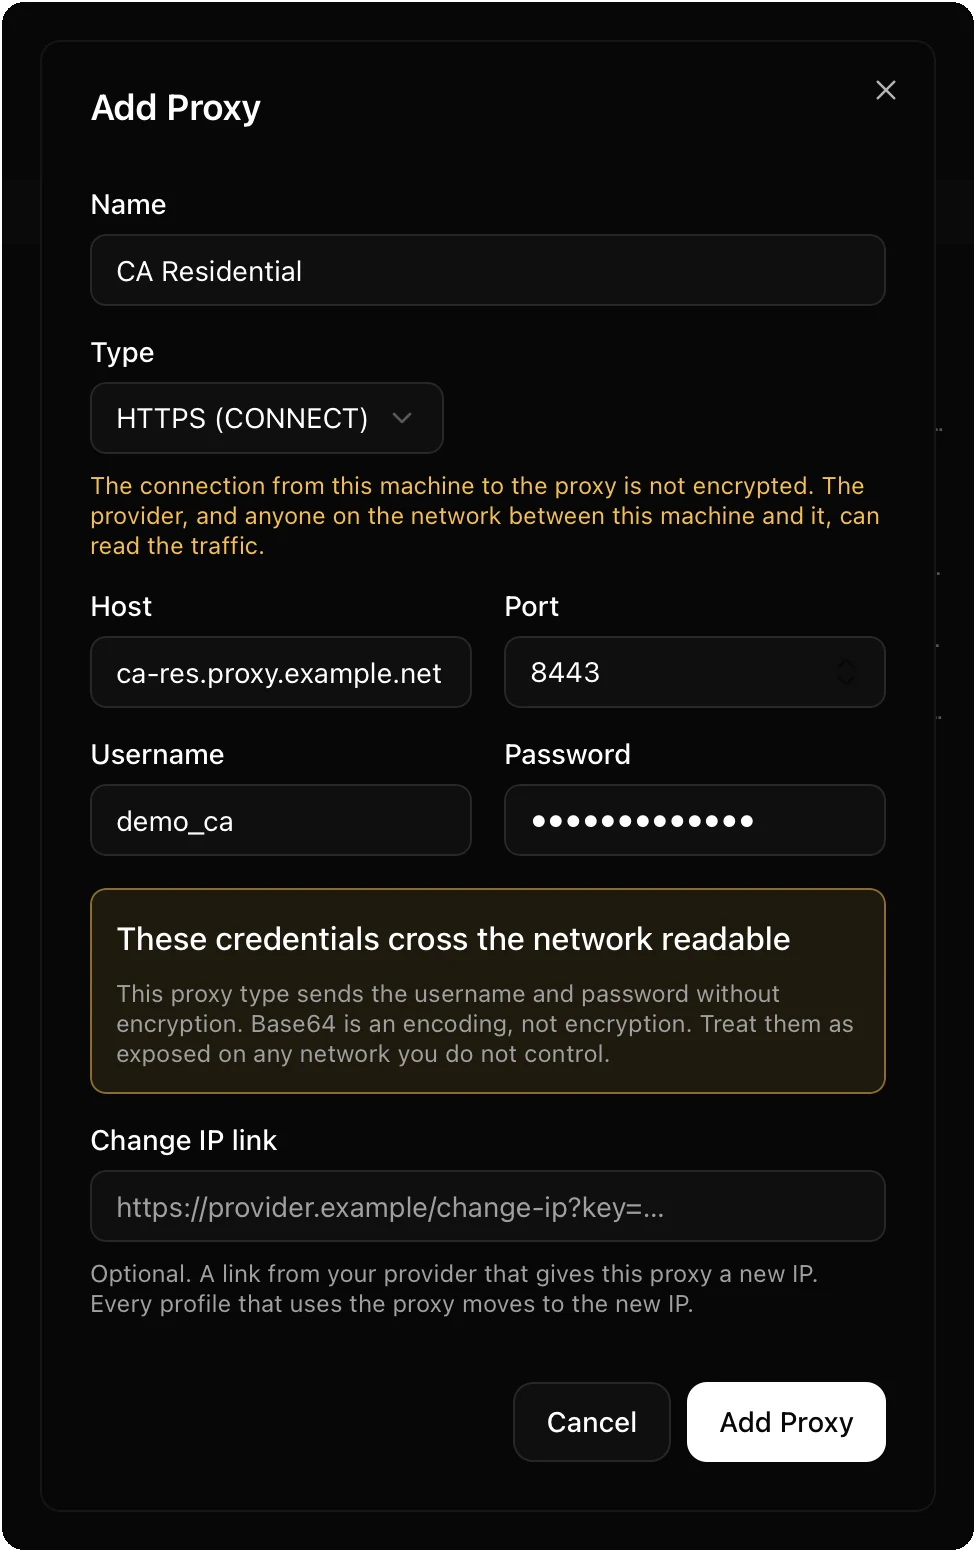
Click New proxy and choose the type:
| Type | What you enter |
|---|---|
| HTTP, HTTPS (CONNECT), HTTP over TLS | Host, port, optional username and password |
| SOCKS4, SOCKS5 | Host, port, optional username and password |
| Shadowsocks | Host, port, password and cipher (for example aes-256-gcm) |
| VLESS, VMess, Trojan, Hysteria2 | The share link from your provider |
The Proxies table shows if the first hop (from your computer to the proxy) is encrypted. HTTP, HTTPS (CONNECT), SOCKS4 and SOCKS5 do not encrypt it, so the network between your computer and the proxy can read the traffic and the credentials. HTTP over TLS encrypts it. For Shadowsocks the cipher decides, and for VLESS, VMess, Trojan and Hysteria2 the share link decides. The provider always sees which sites you reach. The UDP column shows if the proxy carries UDP, which WebRTC needs.
Dynamic proxies
On the Dynamic tab, give a URL that returns the connection details. Donut fetches it each time a profile launches. The response is JSON ({"ip": "...", "port": ..., "username": "...", "password": "..."}) or text (host:port:username:password or protocol://user:pass@host:port). Test URL checks it.
Import and export
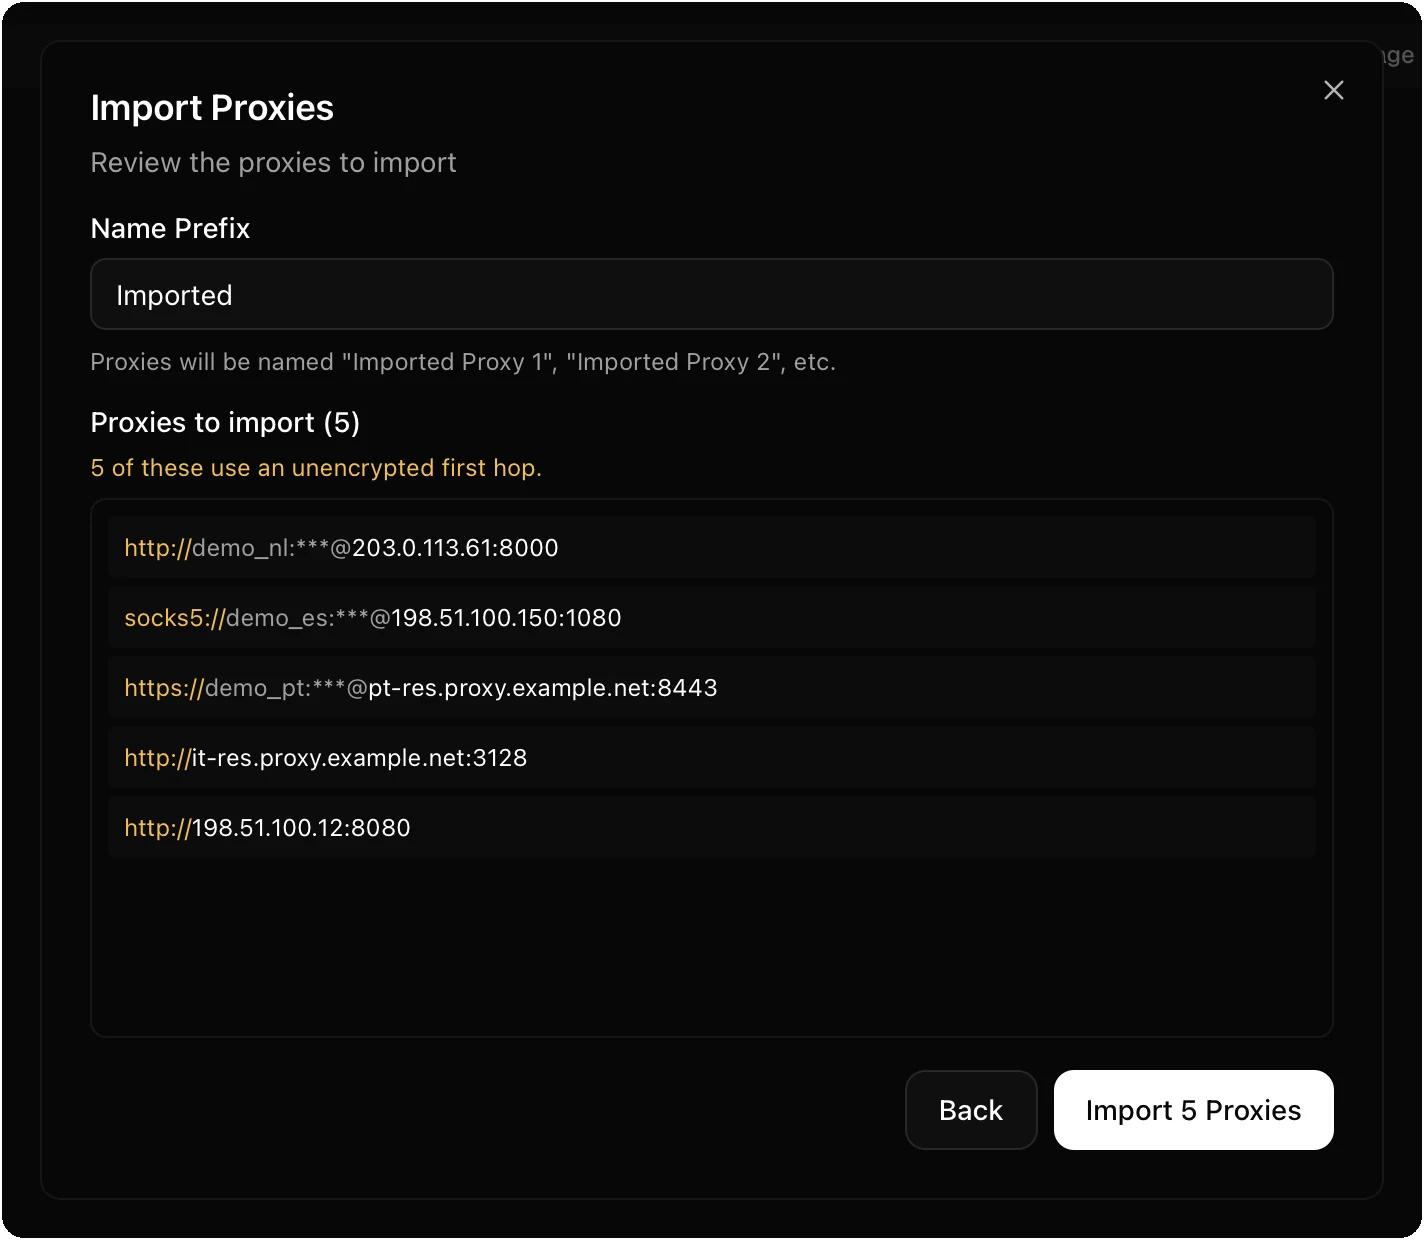
Import takes a .json or .txt file, or a paste. A text file has one proxy per line, as protocol://user:pass@host:port, host:port, host:port:user:pass, user:pass:host:port or user:pass@host:port. When a line can be read two ways, the app asks which one you mean. Duplicates are skipped. Export writes JSON, or TXT with one URL per line.
Check a proxy
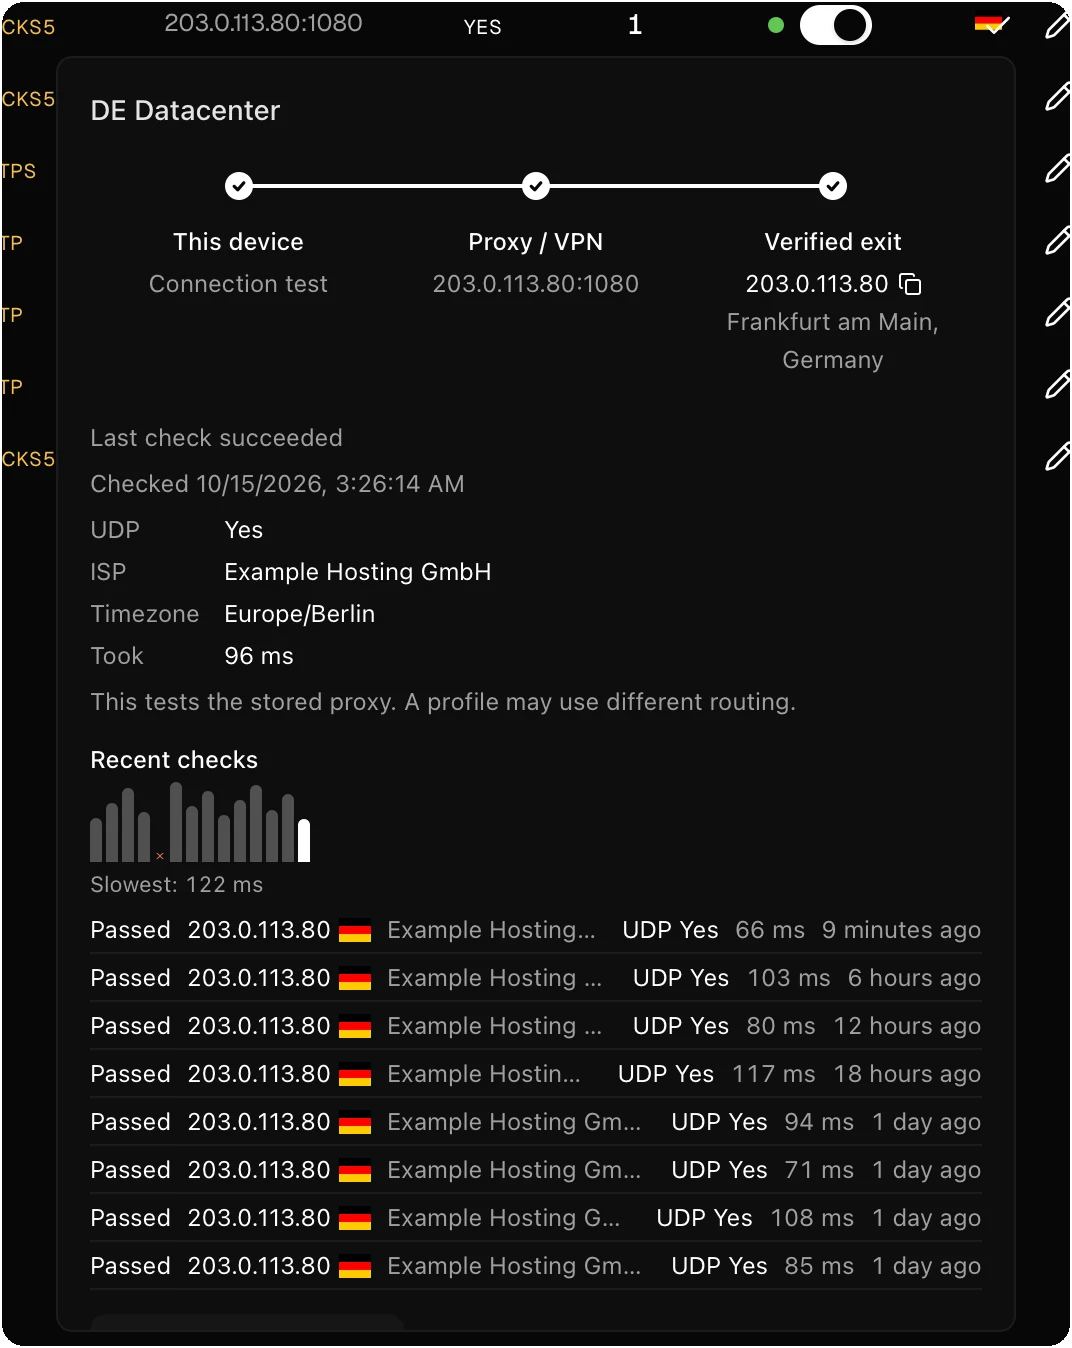
The check button next to a proxy shows its exit IP, location, ISP, timezone, latency and UDP support, and keeps a history of recent checks. Check a proxy before you assign it, so the fingerprint can match its location.
Change the IP
If your provider gives a link that rotates the IP, add it as the Change IP link of the proxy. Change IP then moves every profile that uses the proxy to the new IP.
Assign proxies to profiles
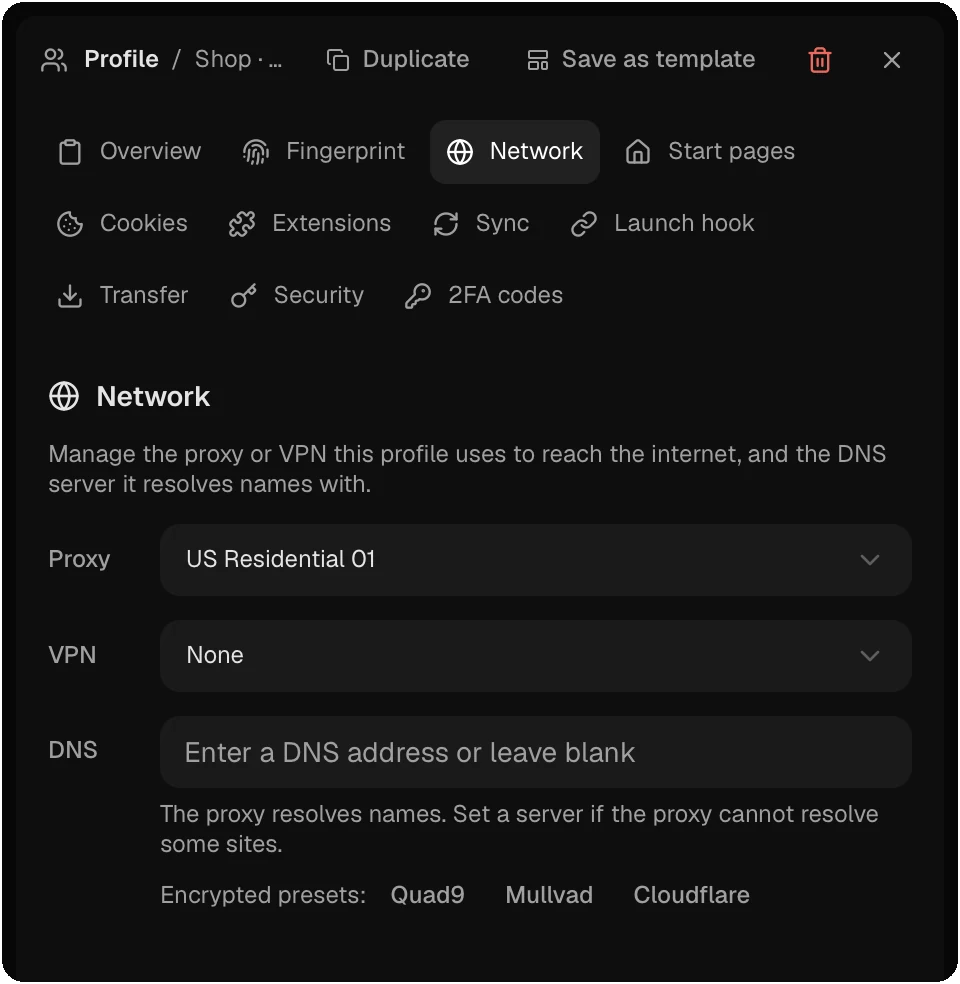
- Choose the proxy in Create New Profile, or in the Network section of the profile panel.
- Select profiles and click Assign Proxy to give them all the same proxy.
- Select profiles and click Distribute Proxies to give each one its own: the first profile gets the first proxy, and so on. A proxy that another profile already uses is left out unless you turn on Allow sharing a proxy. Running profiles are not changed.
- A profile’s proxy bypass rules list hosts, IPs or regex patterns that connect directly, outside the proxy. Set them with
proxy_bypass_rulesinPUT /v1/profiles/{id}or the MCP toolupdate_profile_proxy_bypass_rules.
A proxy that a profile uses cannot be deleted.
WireGuard VPN
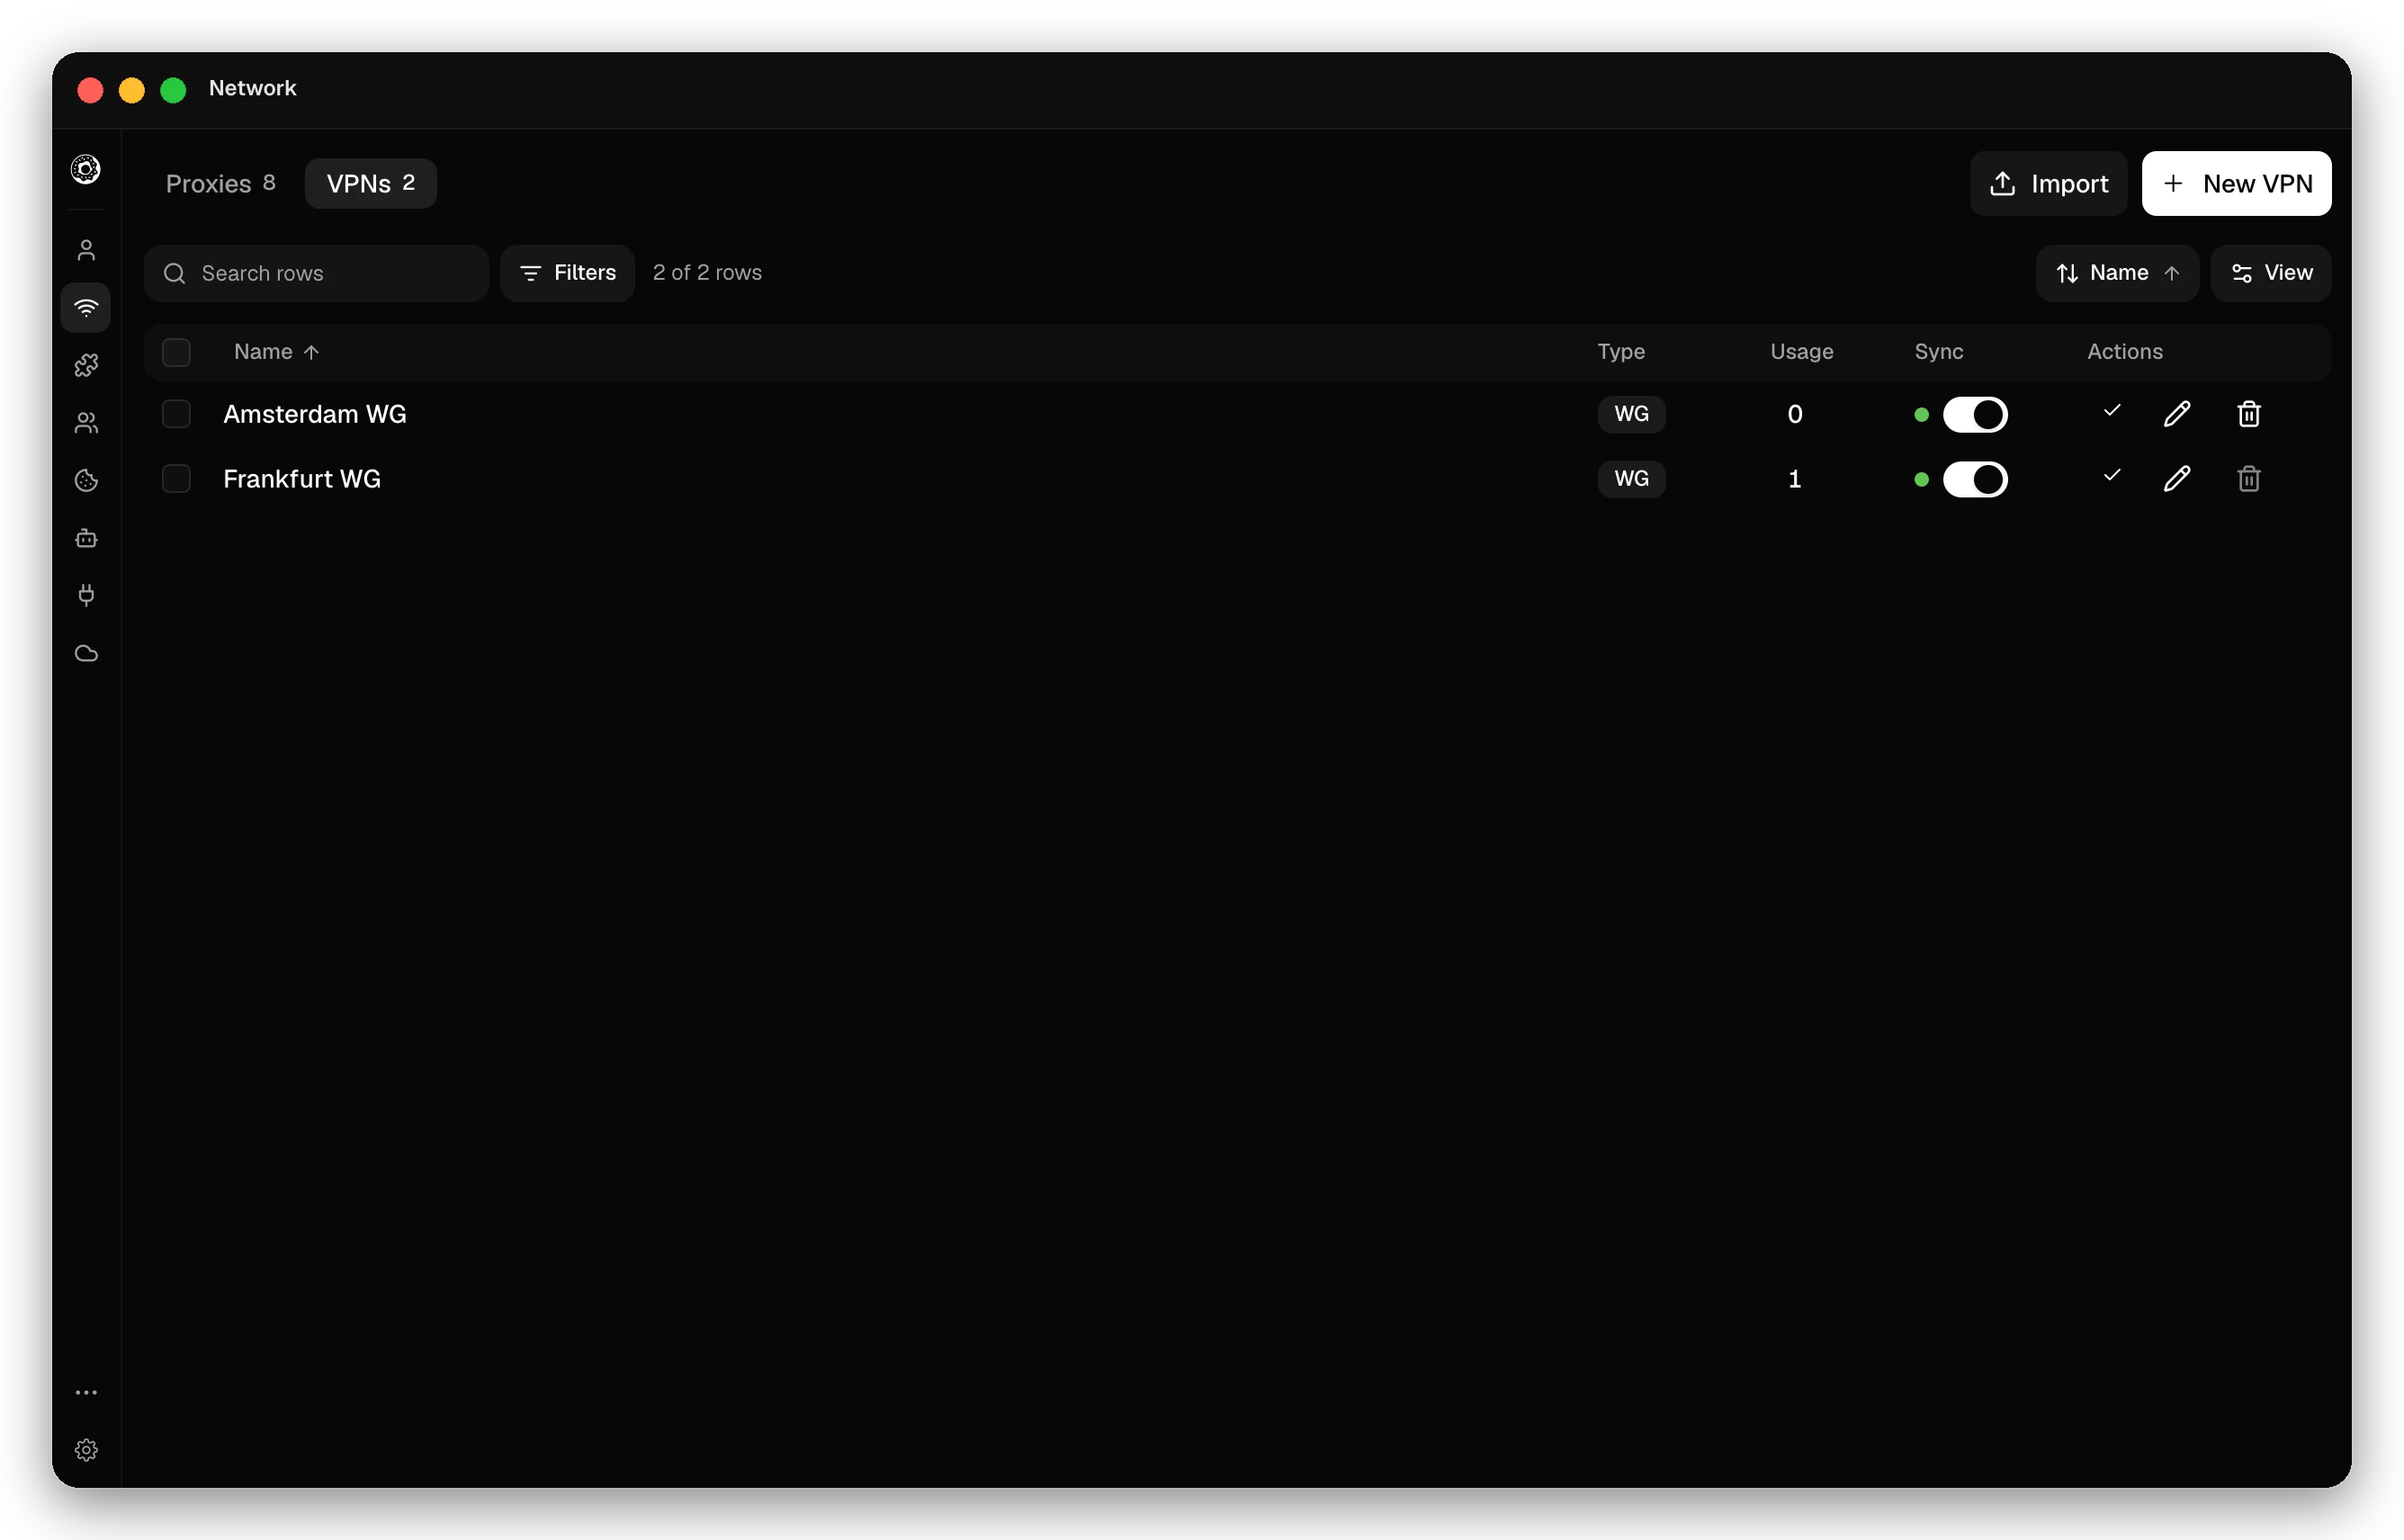
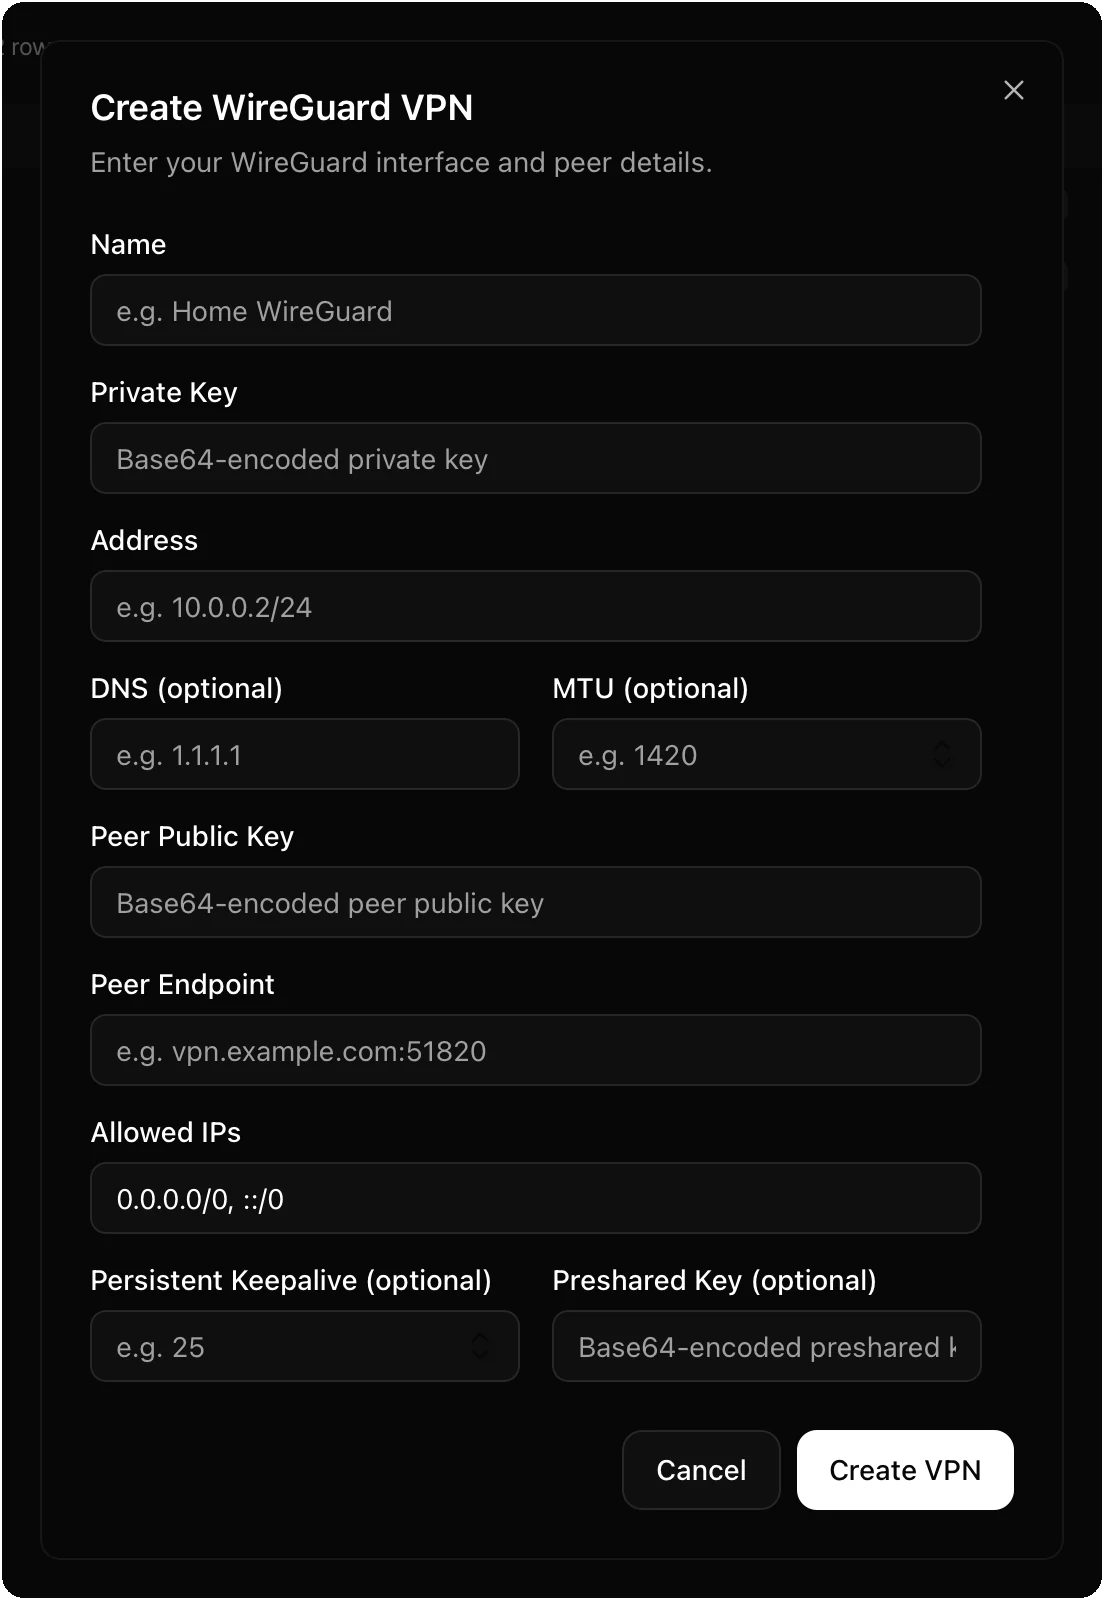
On the VPNs tab, import a WireGuard .conf file (drop it, browse or paste), or create one by hand: private key, address, peer public key, peer endpoint, allowed IPs, and optional DNS, MTU, keepalive and preshared key. Choose the VPN in a profile like a proxy. The tunnel serves that profile only, not the rest of your computer. WireGuard is the only VPN type.
DNS
By default the proxy resolves names. Set a DNS server in a profile’s Network section to use your own. Encrypted presets use DNS over HTTPS or DNS over TLS, and the queries go through the profile’s proxy or VPN. An address that starts with tcp:// uses plain DNS, which the proxy can read and change. If the server does not answer, pages do not load.
DNS blocklist
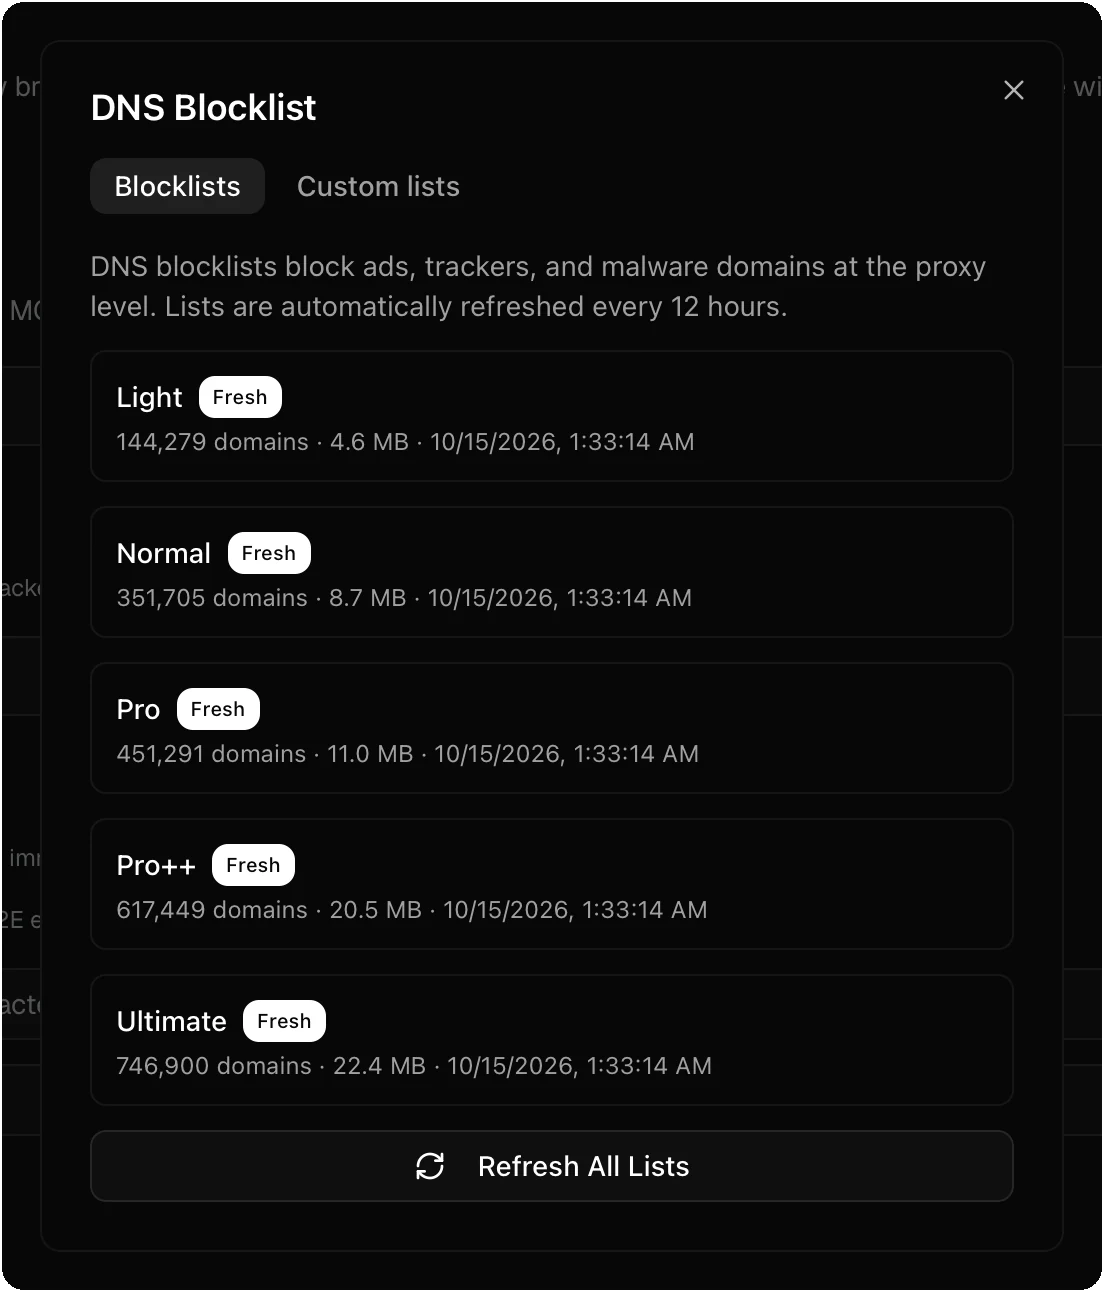
Each profile can block ads, trackers and malware domains at the network level. Choose a level in the DNS column of the profile table, or under Advanced options in Create New Profile: None, Light, Normal, Pro, Pro++, Ultimate or Custom. The lists come from the HaGeZi DNS blocklists and refresh every 12 hours. Settings → DNS Blocklist → Manage DNS Blocklists shows each list with its domain count. Its Custom lists tab builds your own list from source URLs and your own blocked and allowed domains. Allowed domains always win. Allowlist mode blocks everything except the domains you list.
Leak protection
Donut checks the route before a profile starts. In Settings → Privacy:
- Block on fingerprint mismatch stops the launch when the profile’s timezone or language does not match the country of the proxy’s exit IP. The dialog shows the mismatch, offers Match fingerprint to proxy, and lets you Launch anyway.
- Block launches without a proxy or VPN makes sure a profile never starts from your own IP address, also when its proxy or VPN is gone or does not answer.
- VPN extension warning warns before a launch when an extension in the profile can reroute the browser’s traffic.
WebRTC has its own mode per profile. See WebRTC.
Sync proxies and VPNs
With sync on, the Sync column of each proxy and VPN sends it to your other devices. Sync cannot be turned off for a proxy or VPN that synced profiles use.
Checked against the app on .
